목차
Goal of a Tutorial
- DockStation을 이용해 Web-ROS 이미지를 생성.
- Docker Container 내에서 turtlebot3 패키지 설치.
- Docker Container 내에서 Web Server를 구동하여 Host PC에서 ROS 토픽을 확인.
1. Creating ROS-VNC Container via DockStation
먼저 DockStation에서 ROS-VNC 컨테이너를 생성한다.
DockStation의 설치와 관련된 내용은 다음 포스트를 참고한다.
2022.01.18 - [Information/Docker & ROS] - [Docker & ROS] ROS with DockStation
[Docker & ROS] ROS with DockStation
Goal of a Lecture DockStation과 ROS의 특징에 대한 간단한 이론 학습. DockStation을 통한 ROS 실습. DockStation DockStation은 docker-compose를 이용해 container들을 GUI 형태로 설계할 수 있는 도구. 소프..
suho0515.tistory.com
VNC 기능을 구동할 수 있도록 세팅된 도커 이미지는 다음 참조의 내용을 이용한다.
https://github.com/henry2423/docker-ros-vnc
GitHub - henry2423/docker-ros-vnc: A docker environment with ROS, Gazebo, Xfce4 VNC Desktop and Tensorflow
A docker environment with ROS, Gazebo, Xfce4 VNC Desktop and Tensorflow - GitHub - henry2423/docker-ros-vnc: A docker environment with ROS, Gazebo, Xfce4 VNC Desktop and Tensorflow
github.com
Creating Project
먼저 DockStation에서 프로젝트를 생성한다.
이 때, 경로는 "/home/$[USER]/DockStation/web-ros-tutorial"로 주었다.

이후 , "ros-vnc-ubuntu를 검색하여 이미지를 가져온다.
Port Forwarding
컨테이너 내에서 작동하는 웹 서버를 Host PC 측에서도 확인하기 위해서 포트 포워딩을 수행한다.
아래와 같이 기존 내용에 다음의 포트포워딩 내용을 추가한다.
version: '2'
services:
  ros-vnc-ubuntu:
    image: henry2423/ros-vnc-ubuntu
    ports:
      - "8080:8080"
Change Image Tag to Kinetic
처음에는 이미지의 Tag가 정해지지 않은 상태이므로 설정에서 kinetic version을 선택한 후, "APPLY" 버튼을 클릭한다.
그러면 아래와 같이 컨테이너가 구동상태가 된다.
2. Connect to VNC Server
VNC Server 에 접속하기 위해, "Remmina"를 VNC Viewer로 사용한다.
Remote desktop client with X2Go, RDP, SSH, SPICE, and VNC protocol support.
Remmina — X2Go, RDP, SSH, SPICE, and VNC protocol remote desktop client.
remmina.org
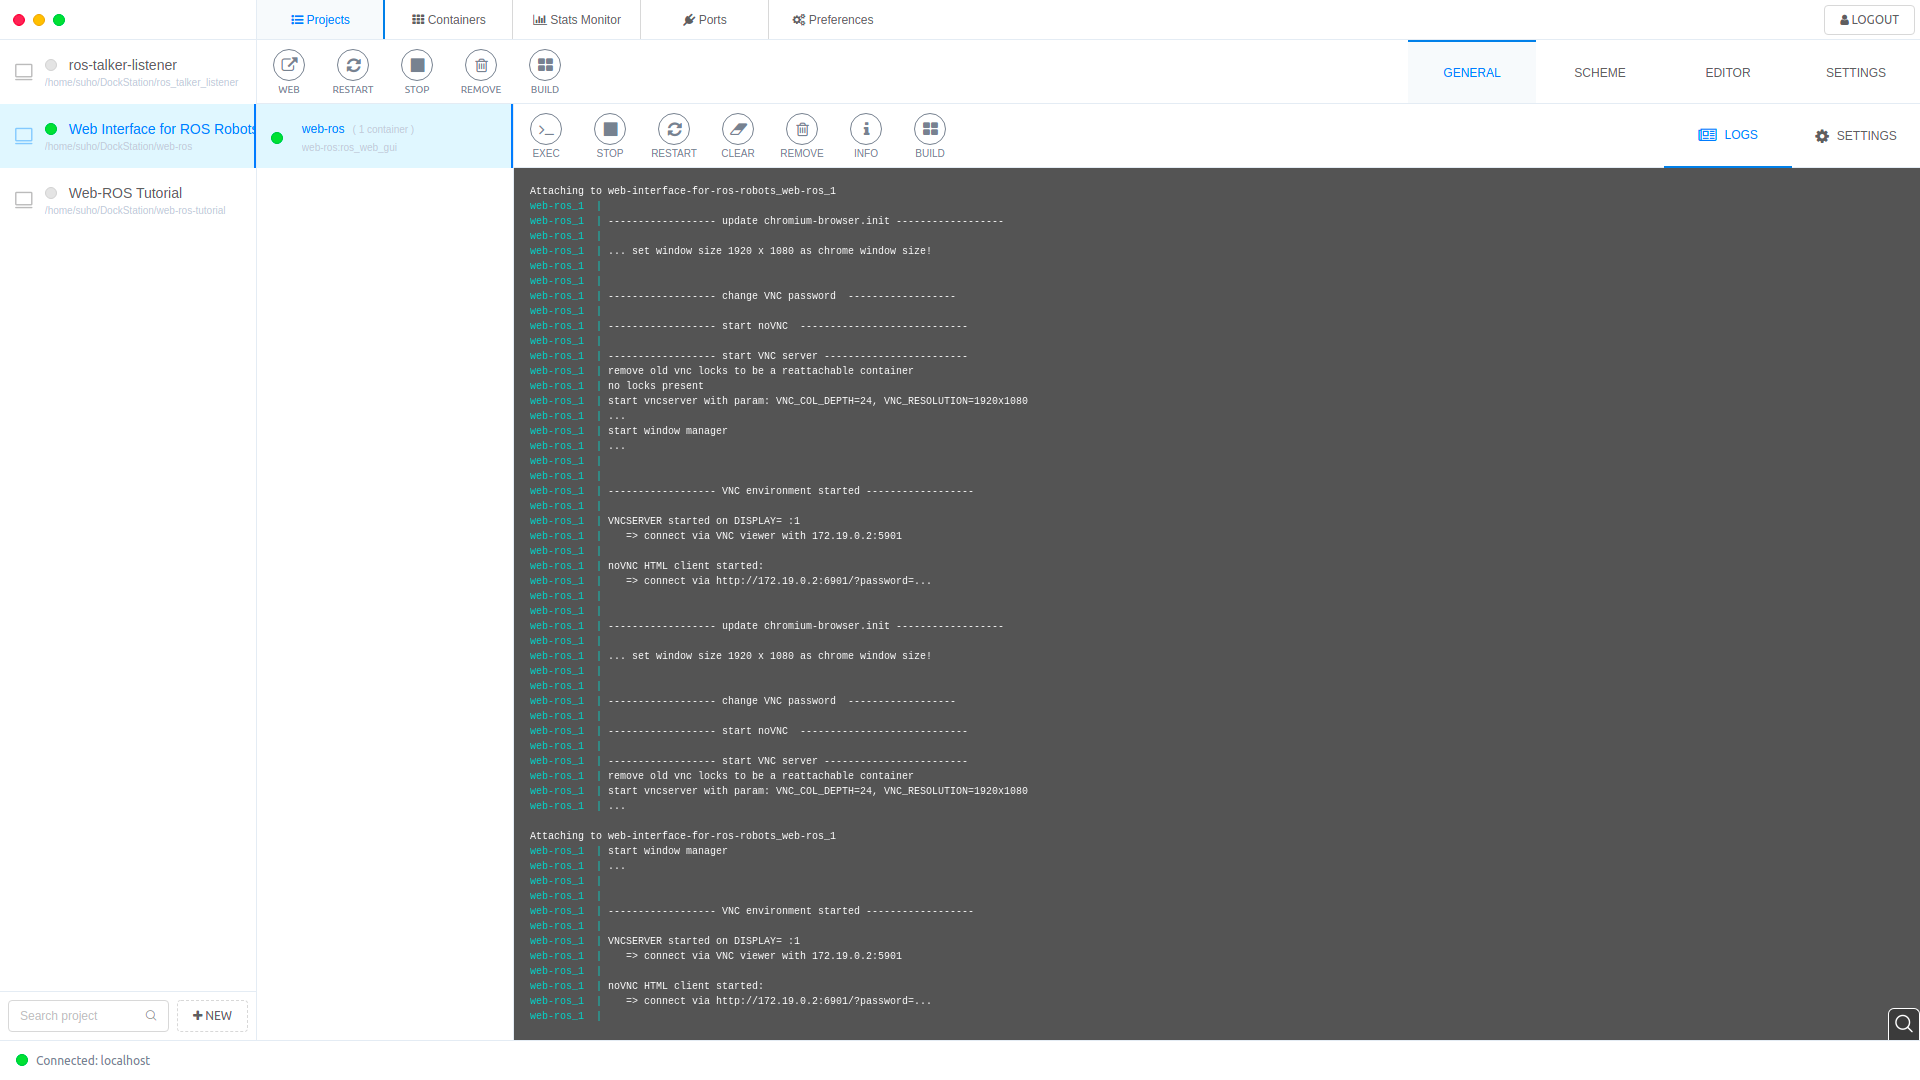
먼저 DockStation에서 "GENERAL" 메뉴를 선택하면 접속해야할 주소를 확인할 수 있다.
"VNC environment started" 하단에 VNC Viewer에서 "172.19.0.2:5901"로 접속해야 한다고 나와있다.
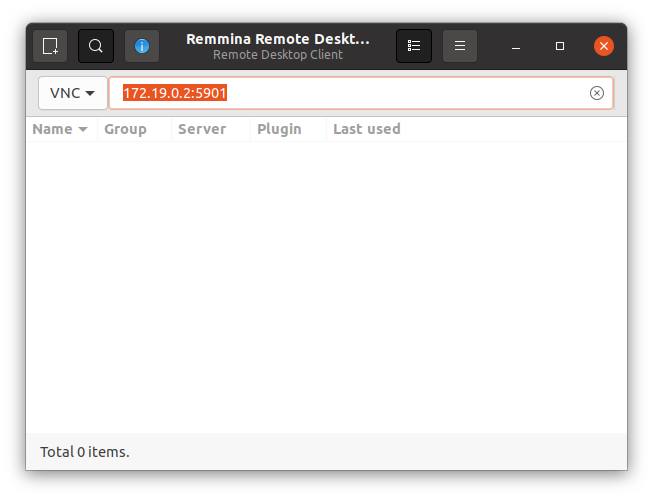
Remmina에서 "172.19.0.2:5901"를 입력한다.
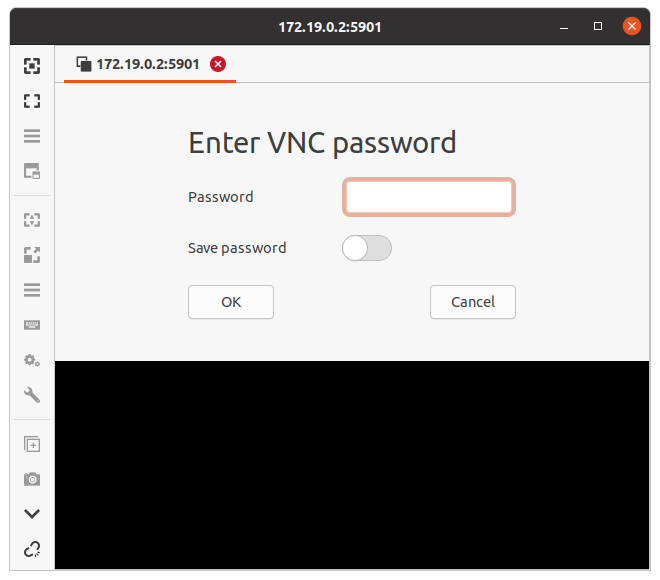
아래에 패스워드에 "vncpassword"를 입력한다.
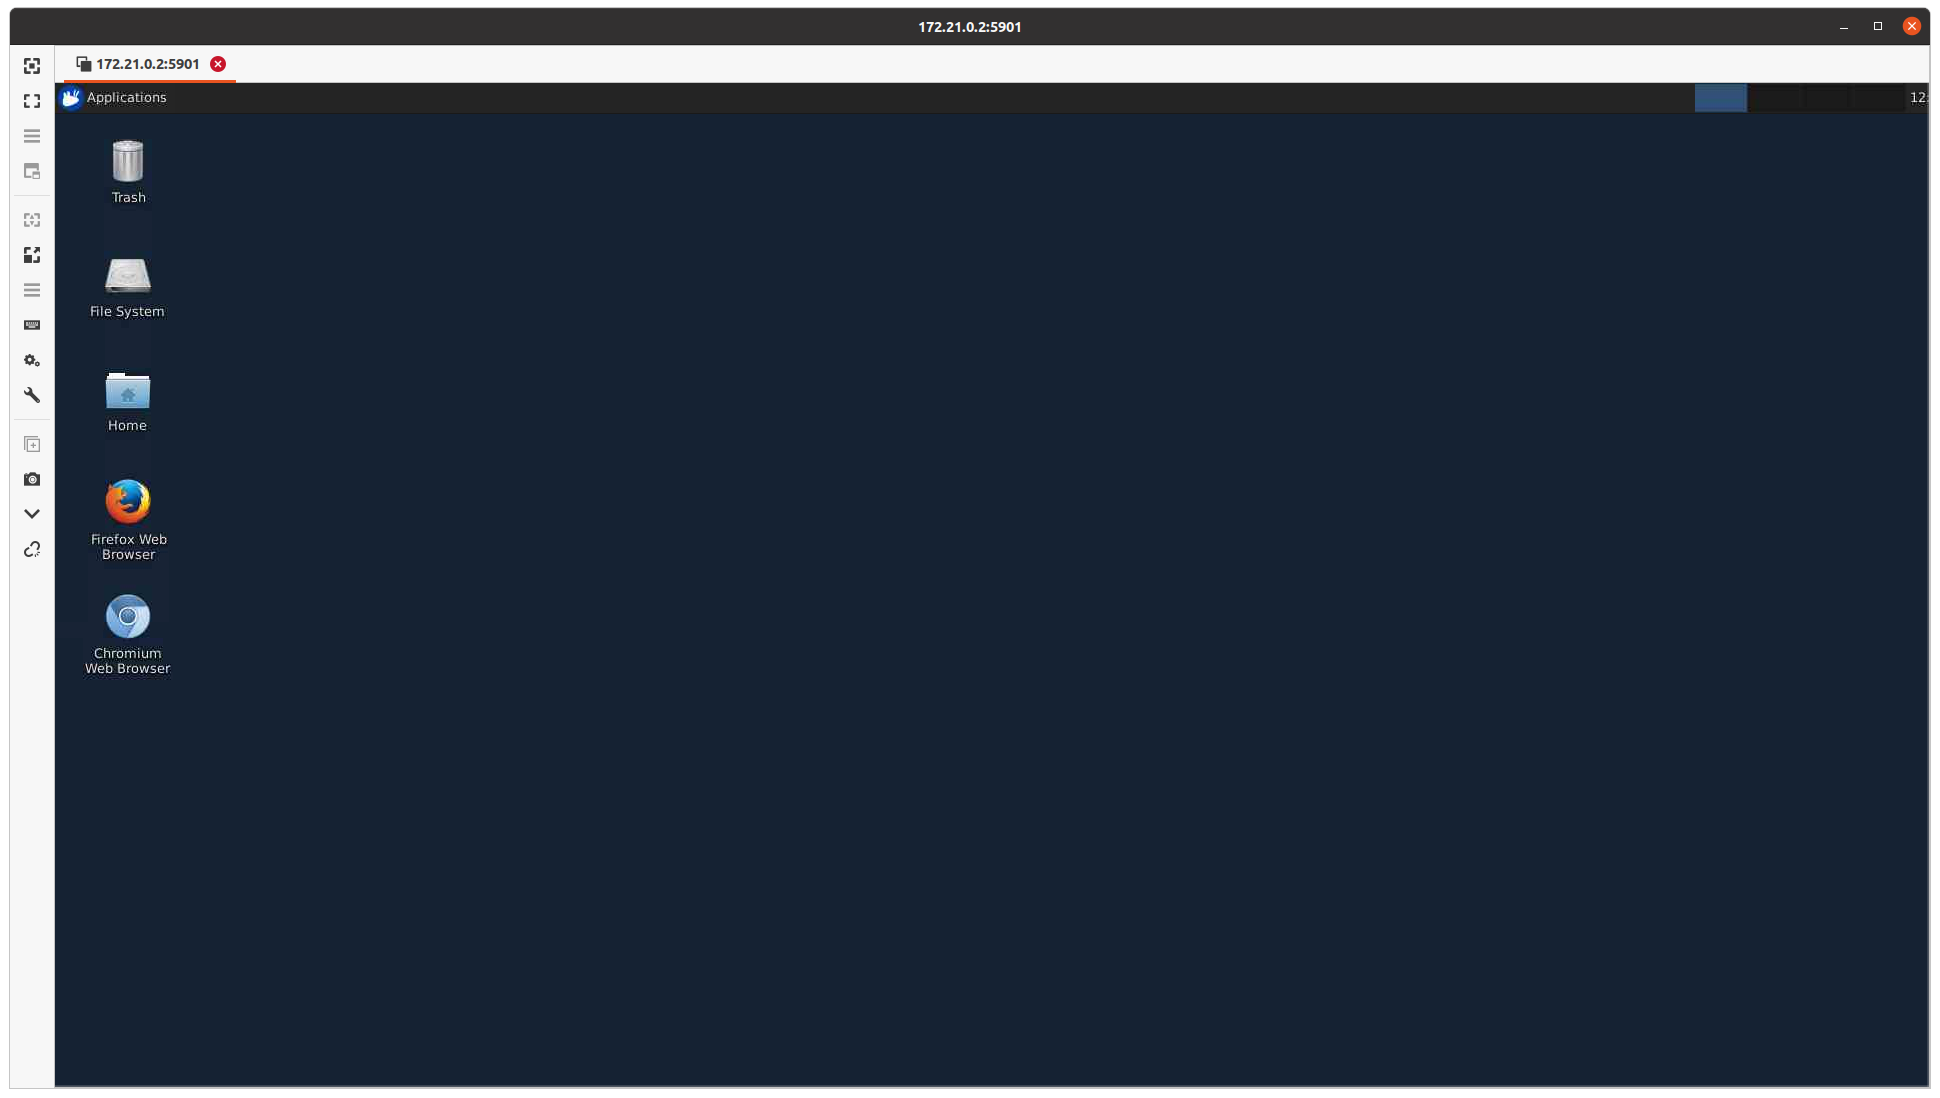
다음과 같이 접속되는 것을 확인할 수 있다.
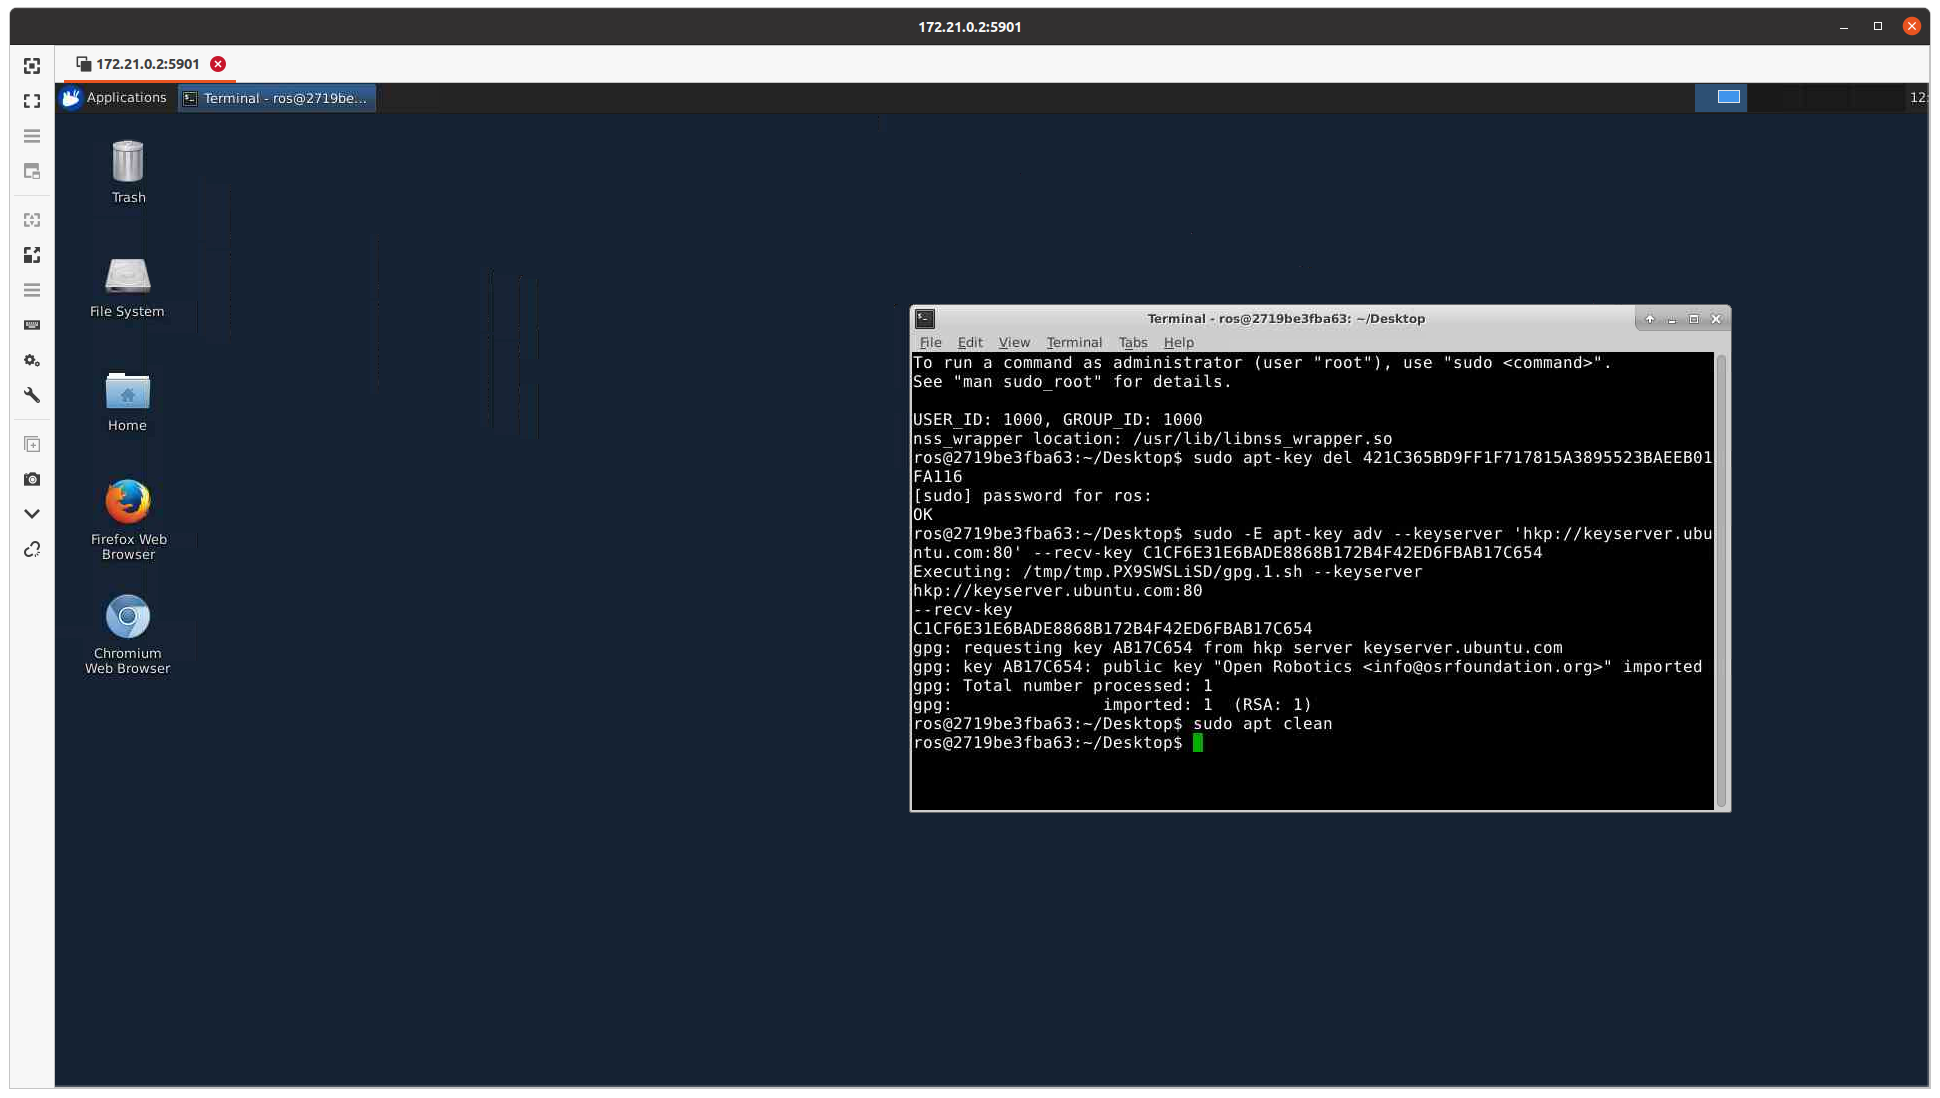
3. Change Key
더 진행하기 전에, 해당 이미지의 경우, key version이 오래되서 turtlebot3 패키지 설치에 문제가 있기 때문에, 다음 명령어를 통해 key를 최신화 해준다.
# delete old key
sudo apt-key del 421C365BD9FF1F717815A3895523BAEEB01FA116

# update new key
sudo -E apt-key adv --keyserver 'hkp://keyserver.ubuntu.com:80' --recv-key C1CF6E31E6BADE8868B172B4F42ED6FBAB17C654

# clean apt (password: ros)
sudo apt clean
4. Install Turtlebot3 Package
이 후, 하기 링크를 참고해 Turtlebot3 패키지를 설치해준다.
https://emanual.robotis.com/docs/en/platform/turtlebot3/quick-start/
ROBOTIS e-Manual
emanual.robotis.com
https://emanual.robotis.com/docs/en/platform/turtlebot3/simulation/#gazebo-simulation
ROBOTIS e-Manual
emanual.robotis.com
진행할 내용은 다음과 같다.
# Install ROS
$ sudo apt-get update
$ sudo apt-get upgrade
$ wget https://raw.githubusercontent.com/ROBOTIS-GIT/robotis_tools/master/install_ros_kinetic.sh
$ chmod 755 ./install_ros_kinetic.sh
$ bash ./install_ros_kinetic.sh

# Install Dependencies
$ sudo apt-get install ros-kinetic-joy ros-kinetic-teleop-twist-joy \
  ros-kinetic-teleop-twist-keyboard ros-kinetic-laser-proc \
  ros-kinetic-rgbd-launch ros-kinetic-depthimage-to-laserscan \
  ros-kinetic-rosserial-arduino ros-kinetic-rosserial-python \
  ros-kinetic-rosserial-server ros-kinetic-rosserial-client \
  ros-kinetic-rosserial-msgs ros-kinetic-amcl ros-kinetic-map-server \
  ros-kinetic-move-base ros-kinetic-urdf ros-kinetic-xacro \
  ros-kinetic-compressed-image-transport ros-kinetic-rqt* \
  ros-kinetic-gmapping ros-kinetic-navigation ros-kinetic-interactive-markers

# Install TurtleBot3 Packages
$ sudo apt-get install ros-kinetic-dynamixel-sdk
$ sudo apt-get install ros-kinetic-turtlebot3-msgs
$ sudo apt-get install ros-kinetic-turtlebot3

# Set TurtleBot3 Model Name
$ echo "export TURTLEBOT3_MODEL=waffle_pi" >> ~/.bashrc

# Install Simulation Package
$ cd ~/catkin_ws/src/
$ git clone -b kinetic-devel https://github.com/ROBOTIS-GIT/turtlebot3_simulations.git
$ cd ~/catkin_ws && catkin_make
5. Run Turtlebot3 Simulator
다음의 명령어를 통해 시뮬레이터를 구동한다.
$ export TURTLEBOT3_MODEL=waffle
$ roslaunch turtlebot3_gazebo turtlebot3_world.launch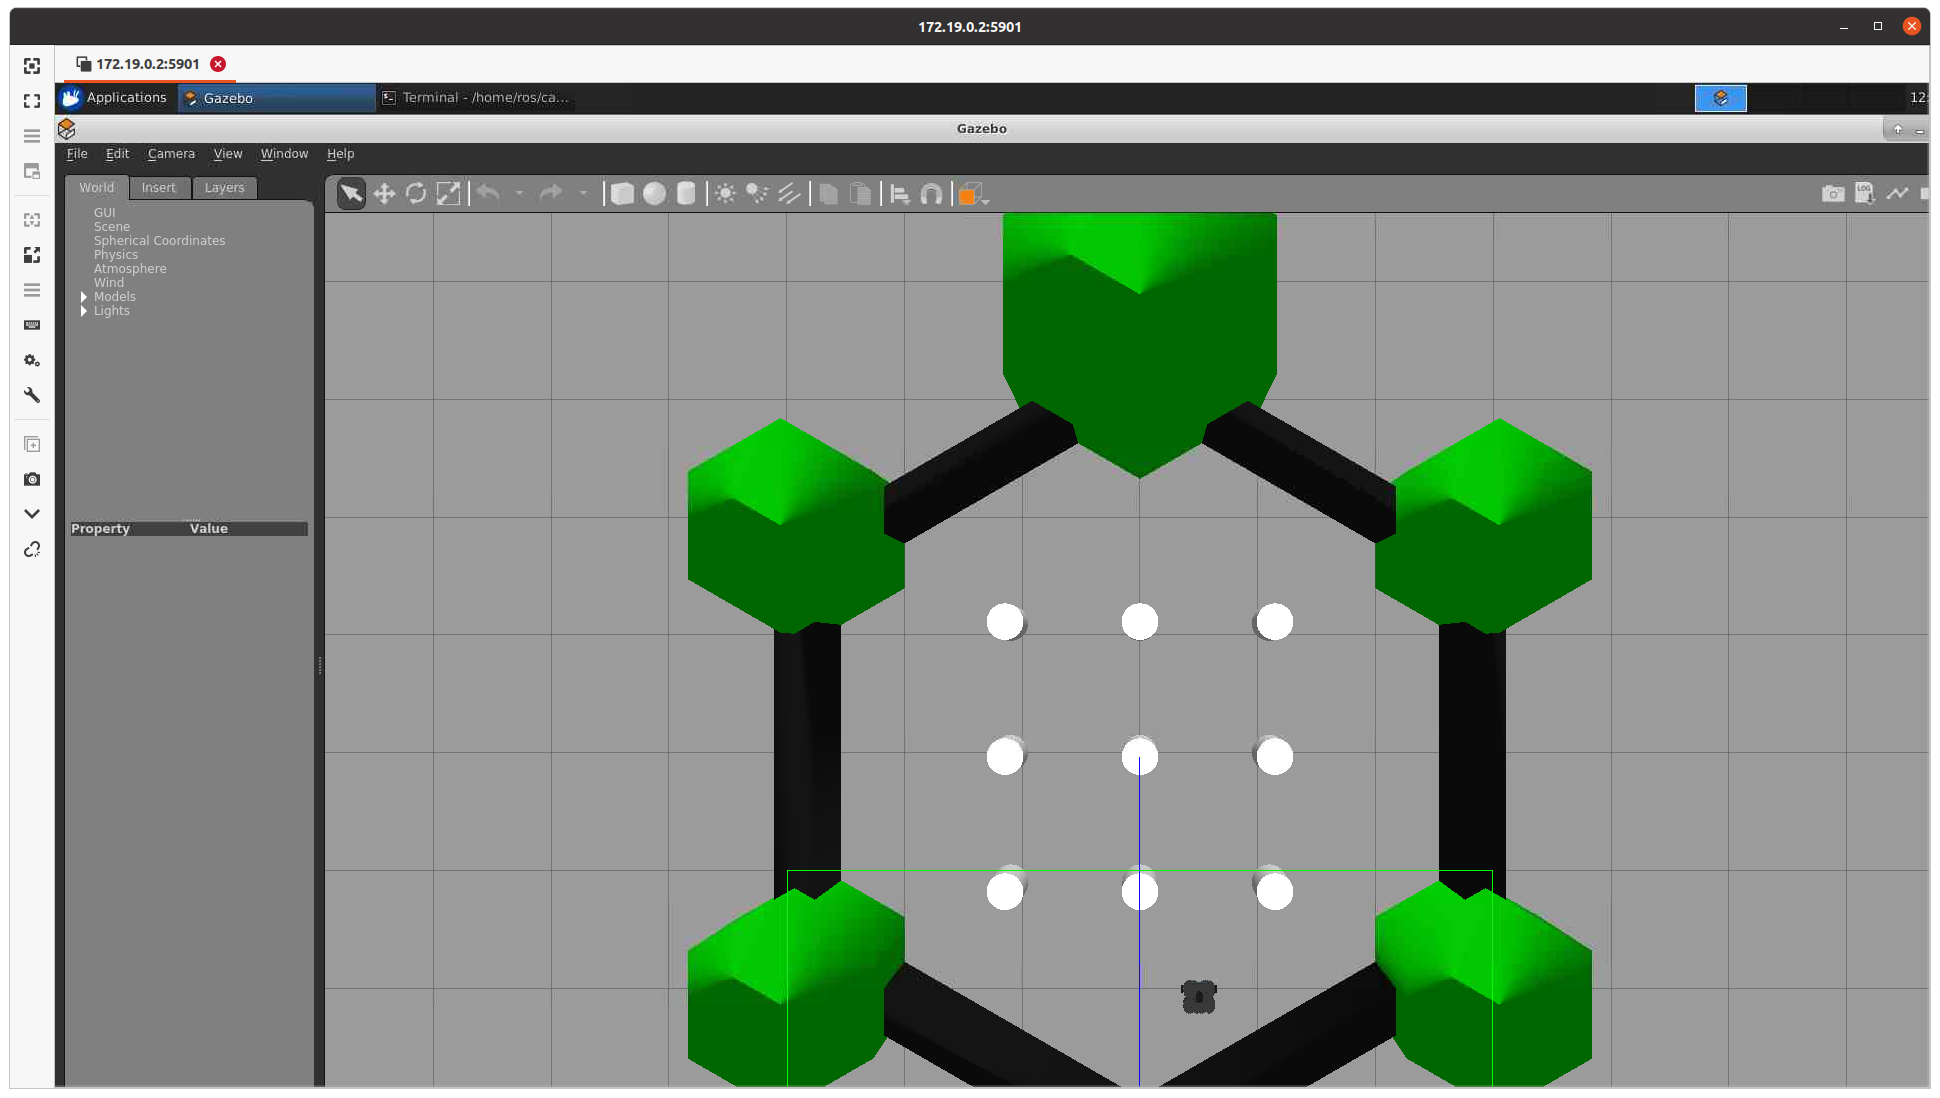
확인이 완료되었으면, 가제보를 종료해준다. (ctrl+c)
6. Install ros_web_gui Package
ros_web_gui repository는 robotwebtools 를 이용하여 제작된 Web GUI for Controlling and Monitoring ROS framework 이다.
해당 repo를 이용하면 간단하게 ros web interface를 구축할 수 있다.
https://github.com/Geekgineer/ros_web_gui
GitHub - Geekgineer/ros_web_gui: Web GUI to Monitor and control ROS enabled Robots based on work represented in the book : ROS B
Web GUI to Monitor and control ROS enabled Robots based on work represented in the book : ROS BY EXAMPLE. Copyright © 2012 by R. Patrick Goebel - GitHub - Geekgineer/ros_web_gui: Web GUI to Monitor...
github.com
먼저 다음 명령어를 통해 Docker에 패키지 설치를 진행한다.
# 1- Clone the robot_web_gui package to your ROS workspace
$ cd ~/catkin_ws/src
$ git clone https://github.com/Geekgineer/ros-web-gui
$ cd .. && catkin_make

# 2- Install a number of JavaScript packages
$ roscd robot_web_gui/scripts
$ ./install-js-packages.sh

# 3- Install rosbridge_suite and supporting packages
$ sudo apt-get update
$ sudo apt-get install ros-kinetic-rosbridge-suite \ros-kinetic-robot-pose-publisher ros-kinetic-tf2-web-republisher ros-kinetic-web-video-server
$ rospack profile

# 4- Install web_video_server package to stream live video from ROS topicsover HTTP to our browser GUI.
$ sudo apt-get update && sudo apt-get upgrade
$ sudo apt-get install ros-kinetic-web-video-server

# 5- Install a Simple Web Server (mini-httpd)
$ sudo apt-get install mini-httpd
7. Test The Web GUI
GUI 테스트를 위해 컨테이너 안에서 Terminal 3개를 켜서 각각의 명령어를 실행한다.
# terminal_1
$ roscore

# terminal_2
$ export TURTLEBOT3_MODEL=waffle
$ roslaunch turtlebot3_gazebo turtlebot3_world.launch

# terminal_3
$ roslaunch robot_web_gui rosbridge.launch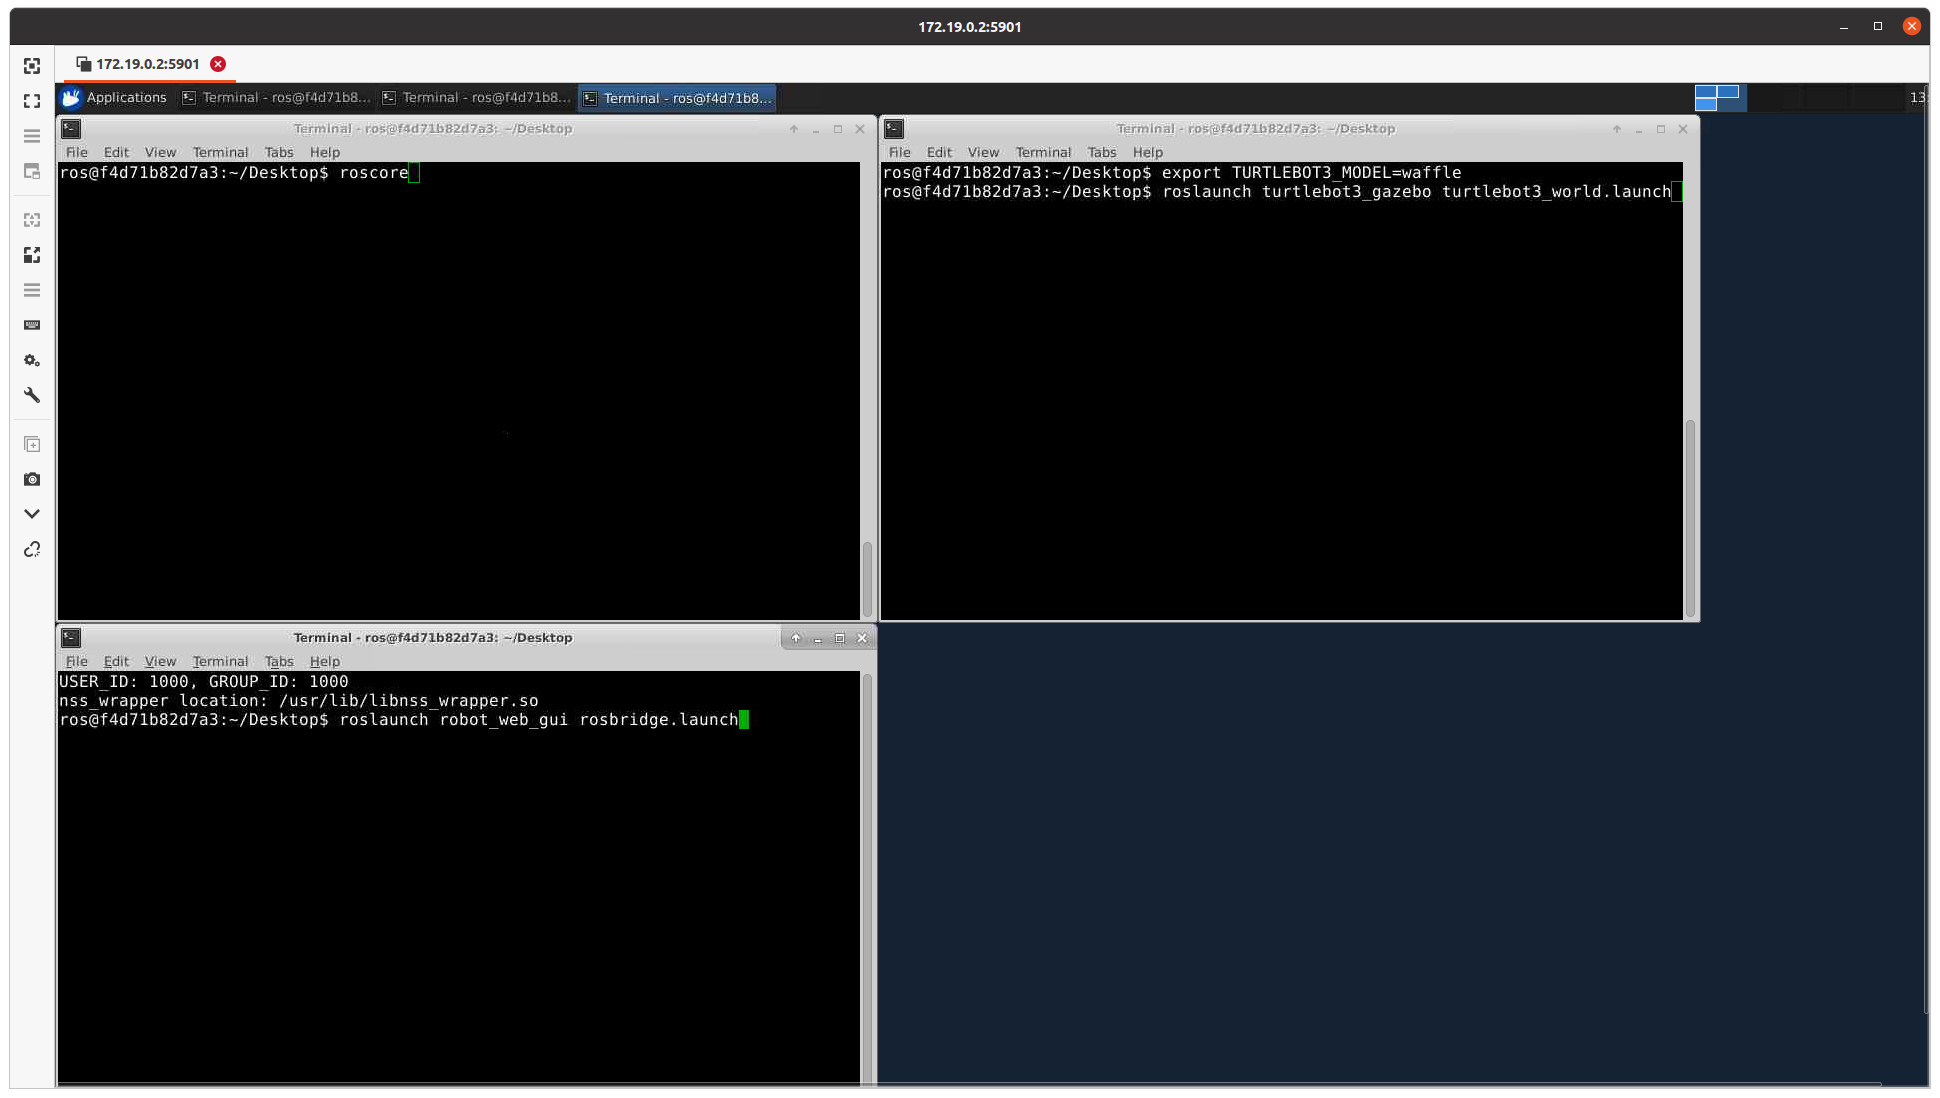
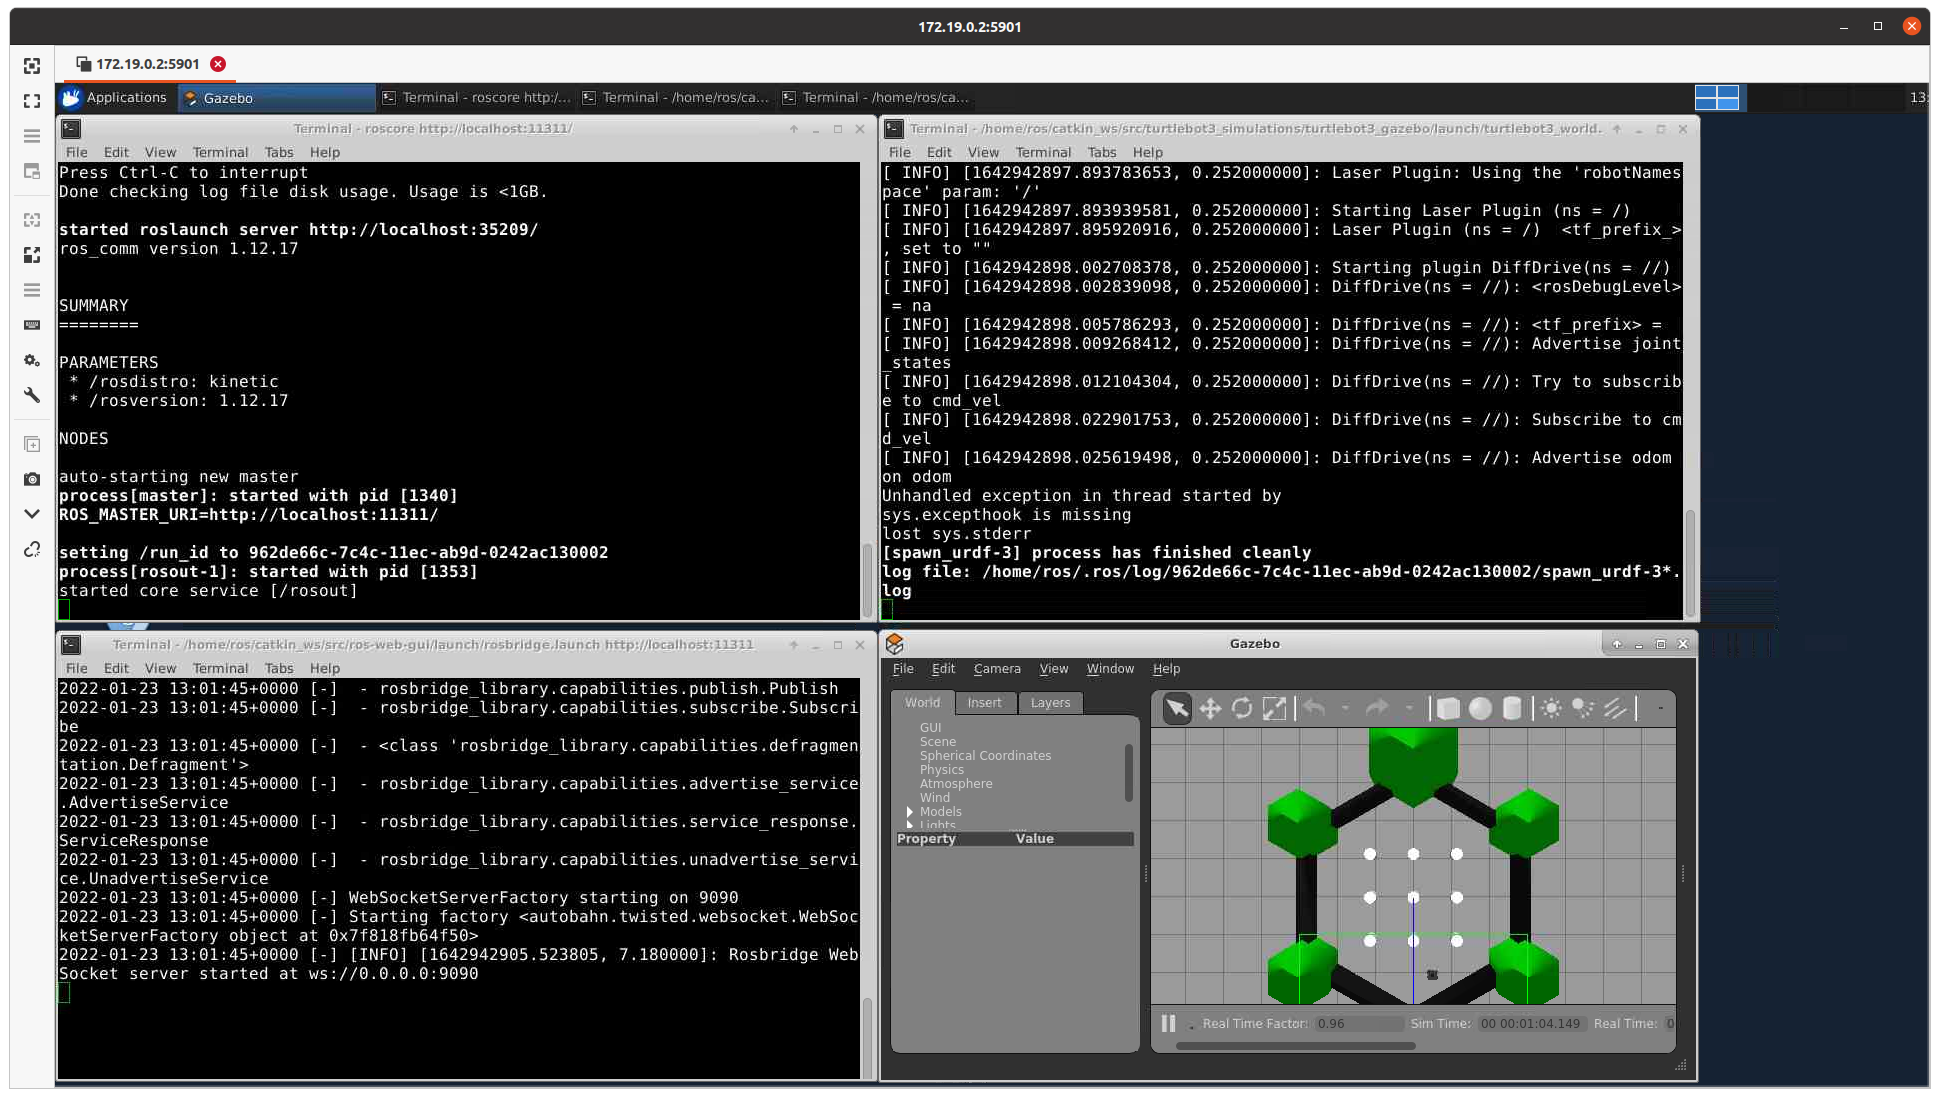
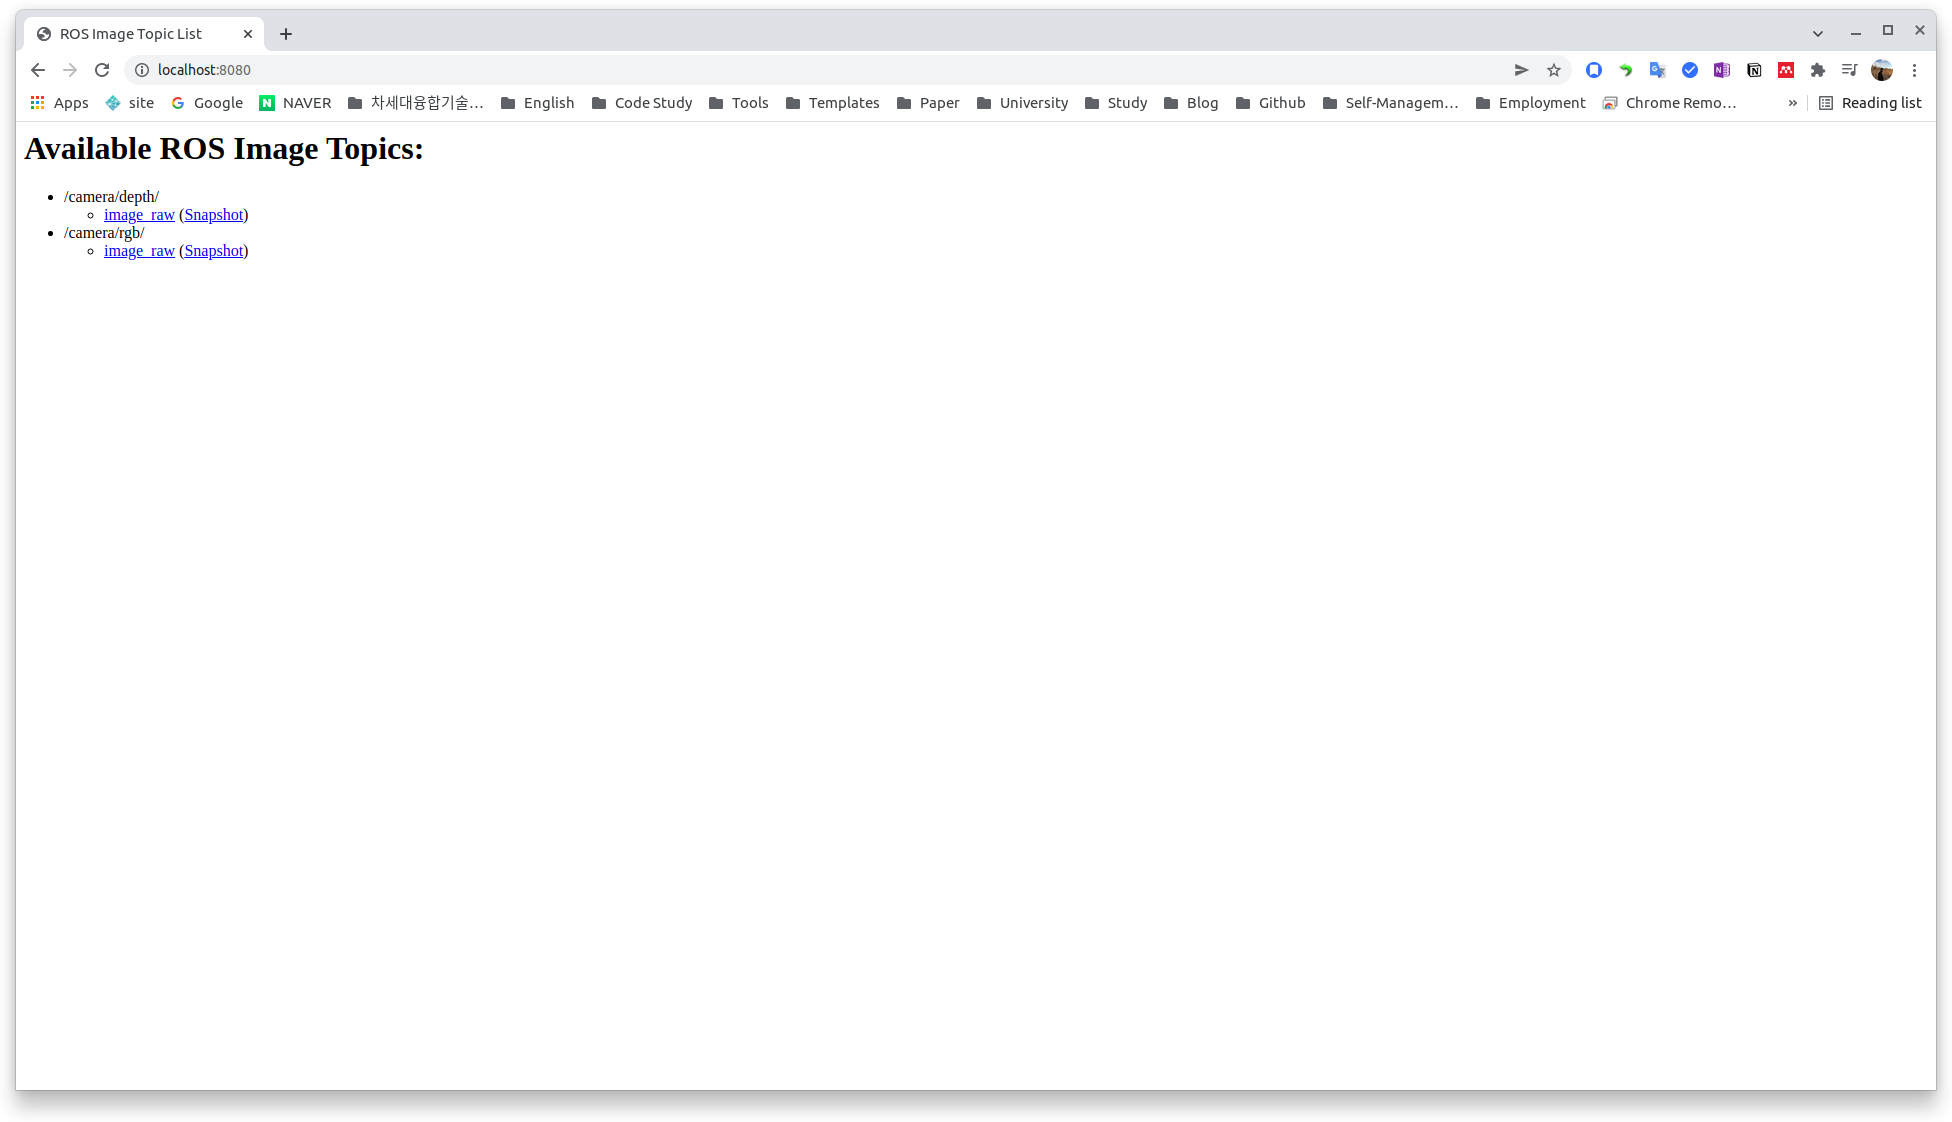
이 후, Host PC의 인터넷 창에서 "localhost:8080"을 입력해 컨테이너에서 구동되고 있는 웹 서버에 접속한다.
메인 페이지에는 구독 가능한 이미지 토픽 리스트들이 나열되어있고,
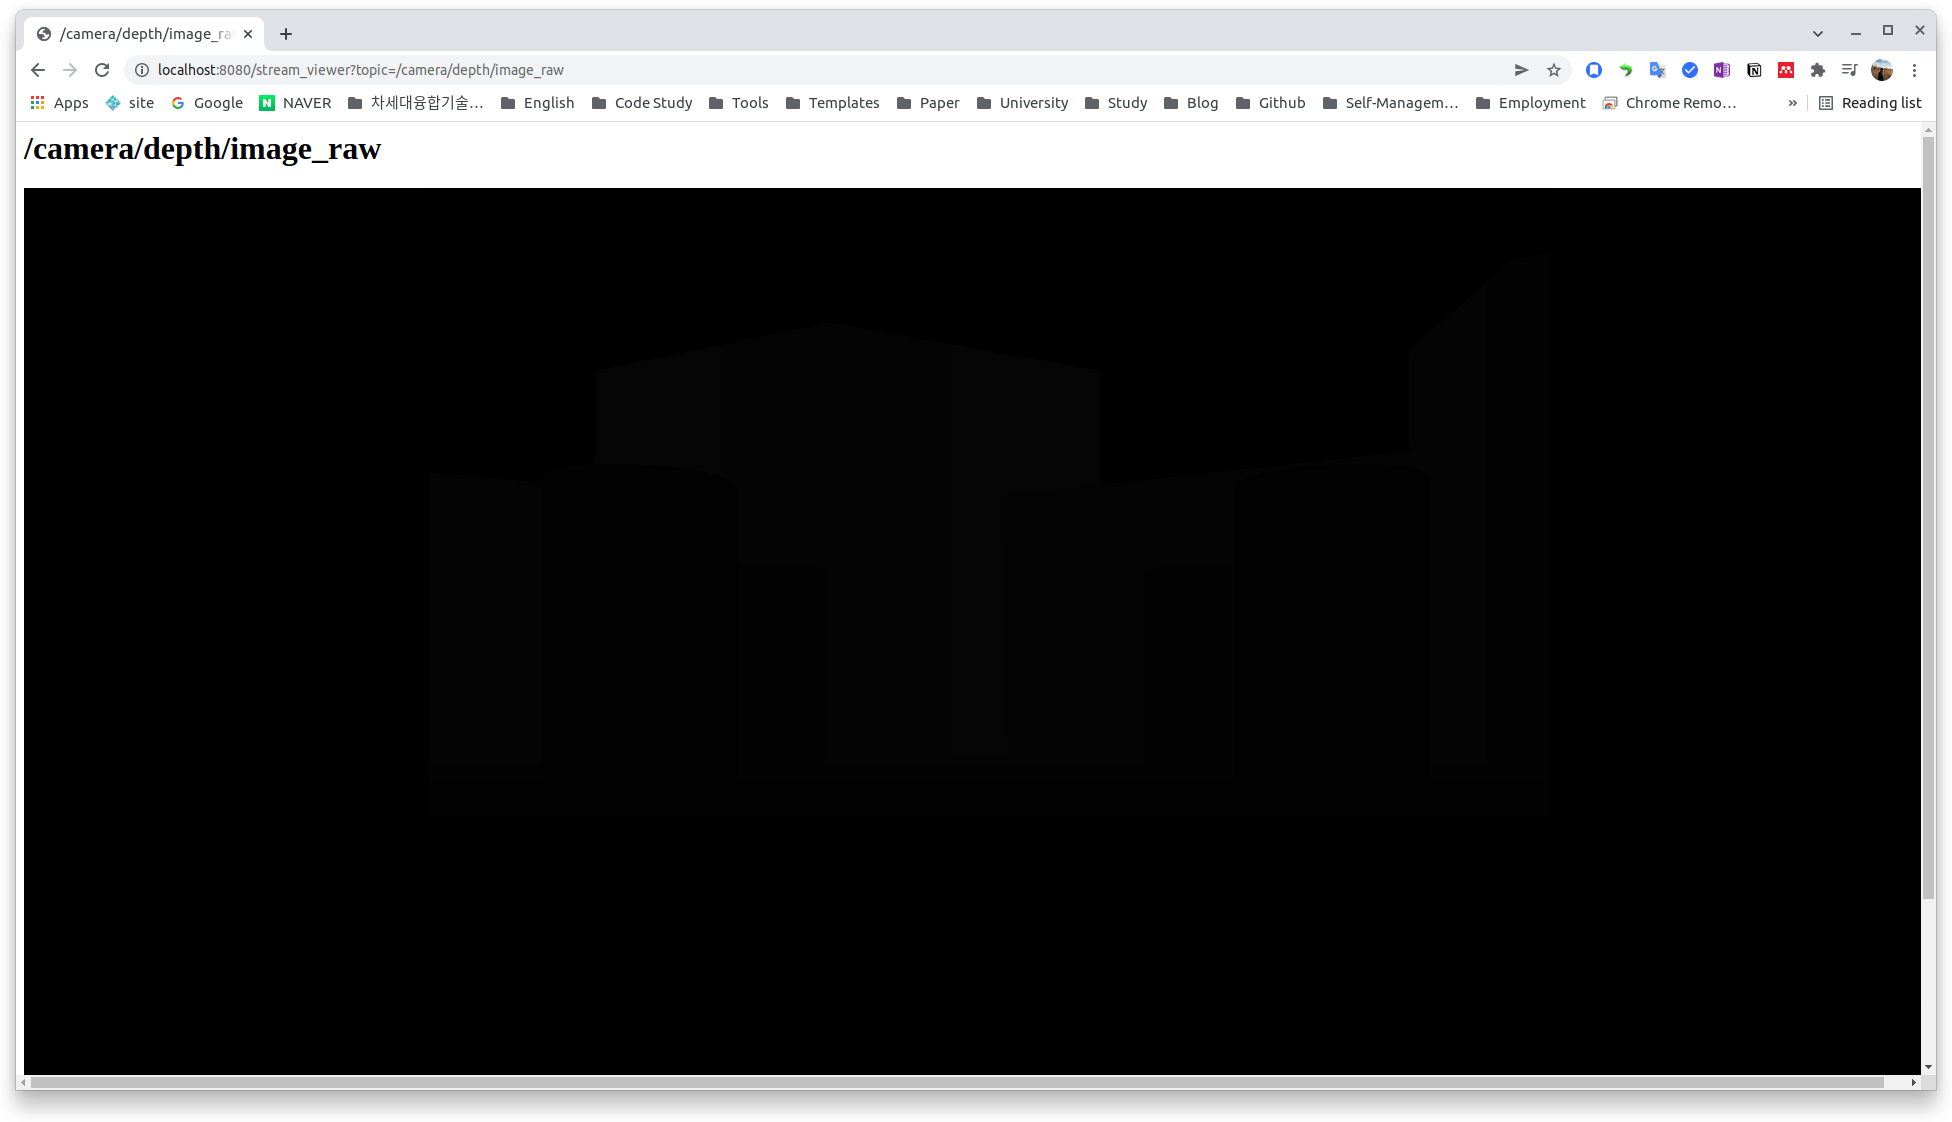
각각 토픽 메뉴를 클릭하면, 이미지를 확인할 수 있다.
(Depth Image는 데이터가 존재하지만 값이 낮아 검은색으로 보인다.)

8. Save Container to Image
현재까지 작업한 컨테이너를 이미지로 변환하여 데이터 변화를 저장하도록 한다.
먼저 Host PC에서 다음의 명령어를 통해 구동중인 컨테이너의 ID를 알아낸다.
$ sudo docker container ls
이 후, 다음 명령어를 통해 새로운 이미지를 만든다.
$ sudo docker commit -a "ros_web_gui done." [Container_ID] [Name_of_New_Image:Tag]

# example
$ sudo docker commit -a "ros_web_gui done." 73792df59b86 web-ros:ros_web_gui
해당 이미지는 다음 깃허브 패키지에 업로드해두었다.
https://github.com/suho0515/web-ros/pkgs/container/web-ros
GitHub: Where the world builds software
GitHub is where over 73 million developers shape the future of software, together. Contribute to the open source community, manage your Git repositories, review code like a pro, track bugs and feat...
github.com